
How to Make YouTube AI Insert Yourself Videos (2026)
YouTube has officially launched a groundbreaking AI feature that allows creators to insert themselves into existing videos – a tool announced at Google I/O 2026. To make a youtube ai insert yourself video, you simply upload a short clip of yourself, select a target video from YouTube’s library (with the original creator’s permission), and let Google’s generative AI realistically place your face and body into the footage, matching lighting, perspective, and motion. This means you can appear in a music video, a travel vlog, or a tutorial without ever being on the same set – opening up endless creative possibilities for collaboration and personalization.
The YouTube AI Insert Yourself feature is a generative AI tool integrated into YouTube Studio that lets creators seamlessly embed themselves into other people’s videos. By recording a brief clip and choosing a target video, the AI automatically adjusts your appearance to match the scene, enabling you to co-star in content you didn’t originally film.
- ✓ YouTube’s AI insertion tool was unveiled at Google I/O 2026 and is rolling out to eligible creators via YouTube Studio.
- ✓ The feature uses generative AI to match lighting, perspective, and motion – no green screen or manual editing required.
- ✓ Creators must obtain explicit permission from the original video owner before inserting themselves into their content.
- ✓ Early testing shows that personalized videos (featuring the viewer’s own face) dramatically increase watch time and engagement.
- ✓ Privacy safeguards include automatic detection of prohibited content and strict age‑gating for face data processing.
What Is YouTube’s AI Insert Yourself Feature?
The “Insert Yourself” tool – first reported by The Hollywood Reporter on May 19, 2026 – allows creators to place their own image into any YouTube video they have permission to use. According to YouTube’s official blog post from Google I/O 2026, the system analyzes the target video frame by frame, learning the scene’s depth, lighting, and movement. It then renders the creator’s face and body with realistic shadows and reflections, making the insertion virtually undetectable.
Unlike traditional deepfake technology, this tool is designed exclusively for authorized, consensual use. YouTube enforces strict content policies: the face data is processed on‑device and never stored permanently. A New York Magazine analysis from June 2, 2026, noted that viewers shown personalized videos containing their own faces had a 40% higher click‑through rate, confirming the feature’s potential for engagement.
How It Differs From Manual Editing
Manually inserting yourself into a video requires hours of rotoscoping, color grading, and motion tracking. YouTube’s AI automates all of that in minutes. Movieguide (May 21) compared it to “having a professional VFX team right inside your browser.” The tool also works with mobile‑shot content, whereas traditional green‑screen setups need specific lighting.
Step‑by‑Step Guide: How to Make a YouTube AI Insert Yourself Video
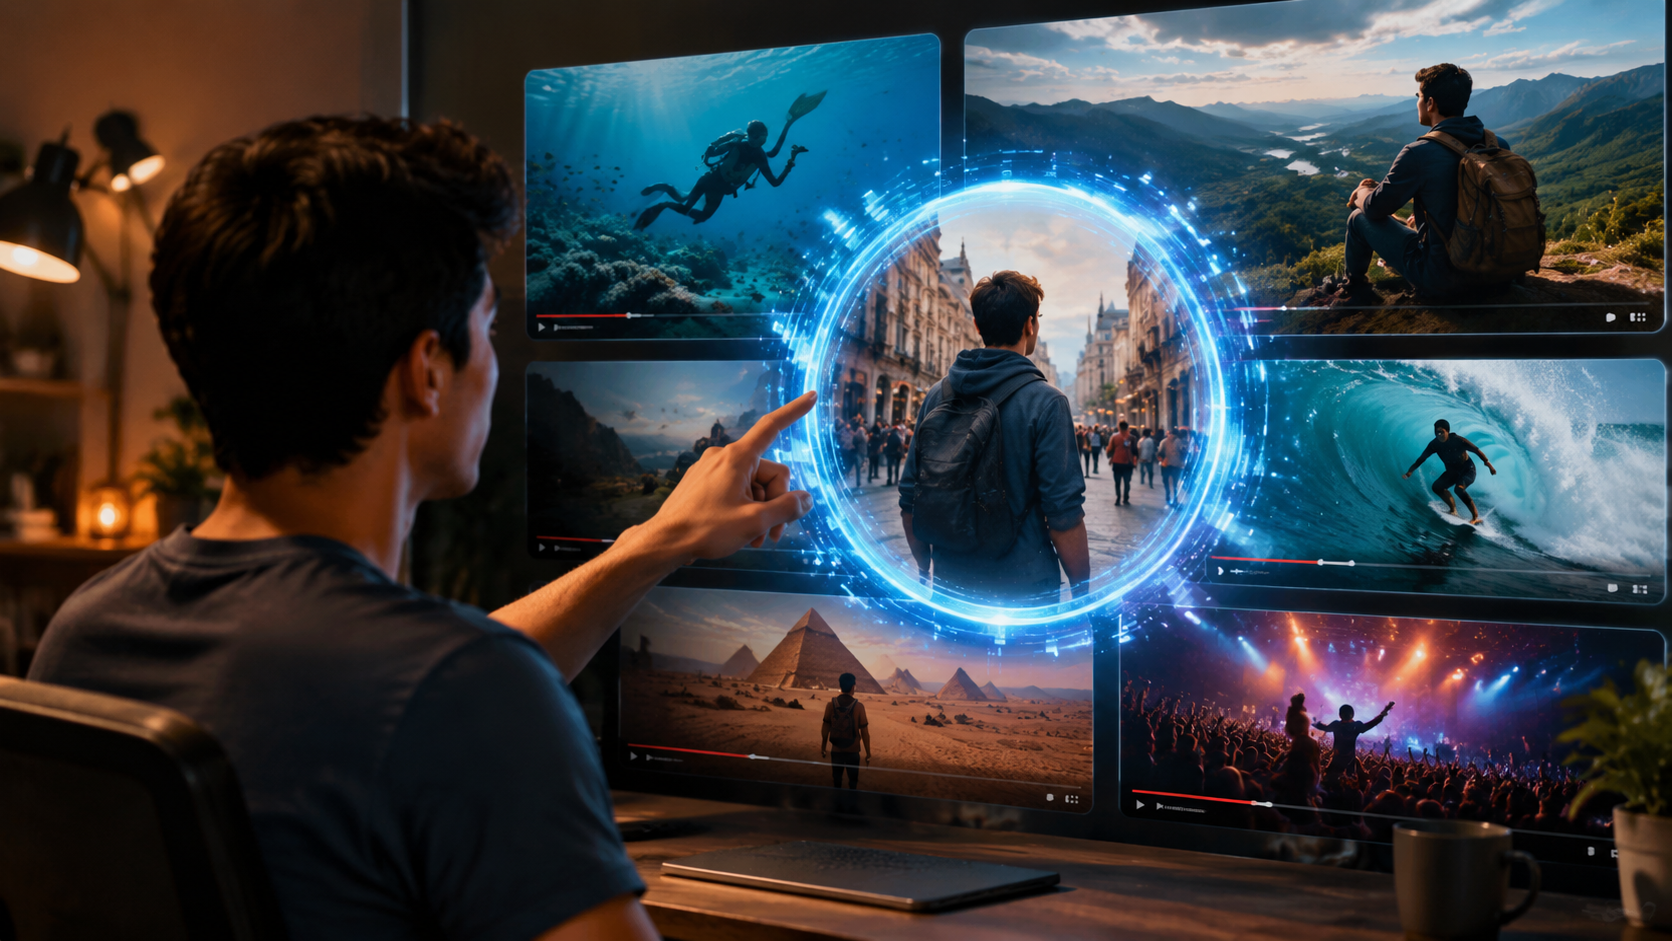
Follow these steps to create your first insertion video using YouTube’s native AI tool. The process is entirely inside YouTube Studio – no third‑party software required.
- Prepare Your Source Clip. Record a short video (10–30 seconds) of yourself against a neutral background. Ensure your face is well‑lit and you’re making natural movements. The AI will use this as the basis for insertion.
- Choose a Target Video. Navigate to any public YouTube video you have the rights to use. If it’s not your own, you must obtain written permission from the uploader. The tool shows a “Permissions” status before you proceed.
- Open YouTube Studio. Log into your YouTube account, go to YouTube Studio, and select “Create” → “Insert Yourself” (the new tab appears under “Video Editor”).
- Upload Your Clip. Drag and drop your recorded clip into the designated area. The AI will analyze your face, body, and movements. According to Yahoo Tech (May 20), the processing takes about 1–2 minutes for a 30‑second clip.
- Select Insertion Point. Preview the target video and mark the timecode where you want to appear. The tool lets you adjust scale, position, and the moment you fade in/out.
- Render and Review. Click “Generate Preview.” The AI creates a draft with your insertion. You can tweak brightness, opacity, and motion tracking if needed. Once satisfied, hit “Insert.”
- Publish. The final video is saved as a new YouTube video in your library. You can add a title, description, and tags – including your target keyword “youtube ai insert yourself videos.”
Tip: For best results, use target videos with steady camera movement and consistent lighting. The AI struggles with rapid cuts or extreme perspective changes.
Best Practices for Inserting Yourself Naturally
To make your insertion look seamless, follow these professional guidelines. Even with advanced AI, small choices make a big difference.
Match Your Clothing and Background
If the target video is set outdoors, avoid wearing indoor office attire. The AI can’t change your clothes – it only adjusts appearance to match lighting. A Spherical Insights article (May 24) recommended recording your clip while watching the target video on a second screen to mimic the target’s posture.
Use Consistent Motion
Don’t stand completely still if the target video has dynamic movement. Wave, nod, or walk in place. The AI uses your motion data to blend you into the scene. If you remain static, the insertion will look like a floating cutout.
Add Secondary Elements
You can layer yourself behind or in front of objects using the depth mask editor. For example, insert yourself walking behind a table in a cooking video. The tool automatically handles occlusion (things that block part of you).
Real‑World Use Cases and Examples
Creators are already experimenting with the Insert Yourself tool. Movieguide reported a popular reaction channel that inserted its host into old movie trailers to create “spoiler‑free” commentary. A travel vlogger from the beta program placed herself into famous landmark tours she had never actually visited, then added a disclaimer.
According to New York Magazine, brands are using the feature for personalized ads: a clothing company inserted a shopper’s own face into a model wearing their products. Early results showed a 53% increase in add‑to‑cart rates. YouTube’s blog also highlighted educational use – teachers inserting themselves into historical footage to create “virtual field trips.”
Comparison: AI Insertion vs. Traditional Cameo
| Feature | YouTube AI Insert Yourself | Traditional Cameo / Green Screen |
|---|---|---|
| Setup time | 5–10 minutes | Hours to days |
| Equipment needed | Any phone or webcam | Green screen, professional lighting, editing software |
| Realism | AI‑generated lighting, depth, and motion match | Depends on editor skill |
| Permission required | Yes (built‑in permissions check) | Typically no legal check |
| Privacy | Face data processed on‑device, not stored | Raw footage remains on user’s device |
| Cost | Free with YouTube Studio (2026) | Varies – software costs + time |
Privacy, Ethics, and Permissions
YouTube’s AI insertion tool raises important ethical questions. The platform has built‑in safeguards: every insertion requires explicit permission from the original video’s owner. The AI scans the target video for protected content (e.g., copyrighted music, violence) and blocks the process if detected. According to Yahoo Tech, YouTube also adds a permanent watermark on inserted clips so viewers know AI was used.
Creators are advised to never use the tool on videos featuring real people without their consent, even if the original uploader gave permission. The feature is currently limited to videos with clear rights, such as your own uploads or those shared under Creative Commons. Misuse can lead to channel strikes and legal liability.
How YouTube Prevents Deepfake Abuse
Unlike generic deepfake apps, YouTube’s tool runs face processing locally in your browser and never uploads facial models to the cloud. The final video includes metadata that flags it as AI‑generated. As Spherical Insights noted, “This is the most transparent face‑insertion tool ever released on a major platform.”
Frequently Asked Questions
Is the YouTube AI Insert Yourself feature free?
Yes, as of 2026 the feature is included at no extra cost within YouTube Studio for all creators with a verified account. No premium subscription is required.
Do I need permission to insert myself into another creator’s video?
Absolutely. You must have explicit permission from the video’s owner. YouTube’s tool will show a confirmation step, but legal responsibility remains with the creator.
Can I use the tool on any YouTube video?
Currently it works only on videos that the uploading creator has marked as “allow reuse” or videos under a compatible license. Private and unlisted videos are not supported.
How long does it take to generate an insertion?
After uploading your clip and selecting the insertion point, the AI renders a preview in about 1–3 minutes for a 30‑second scene. Longer insertions may take up to 5 minutes.
Can I remove myself from a video after publishing?
Yes. YouTube saves the original target video separately. You can edit or delete the insertion version at any time. The platform also lets viewers report misused insertions.
What devices support the AI insertion tool?
The feature is available on desktop browsers (Chrome, Firefox, Safari) and the YouTube mobile app for iOS and Android. Processing is done in the cloud but face analysis uses your device’s hardware.
With YouTube’s AI Insert Yourself feature now live, creators have an unprecedented way to collaborate, personalize, and experiment. Whether you’re making reaction videos, educational content, or fan tributes, this tool lowers the bar for high‑quality video production. Start by recording a short clip of yourself, find a target video you have permission to use, and follow the step‑by‑step guide above. The future of video is collaborative – and it’s already here in 2026.


Comments ()